
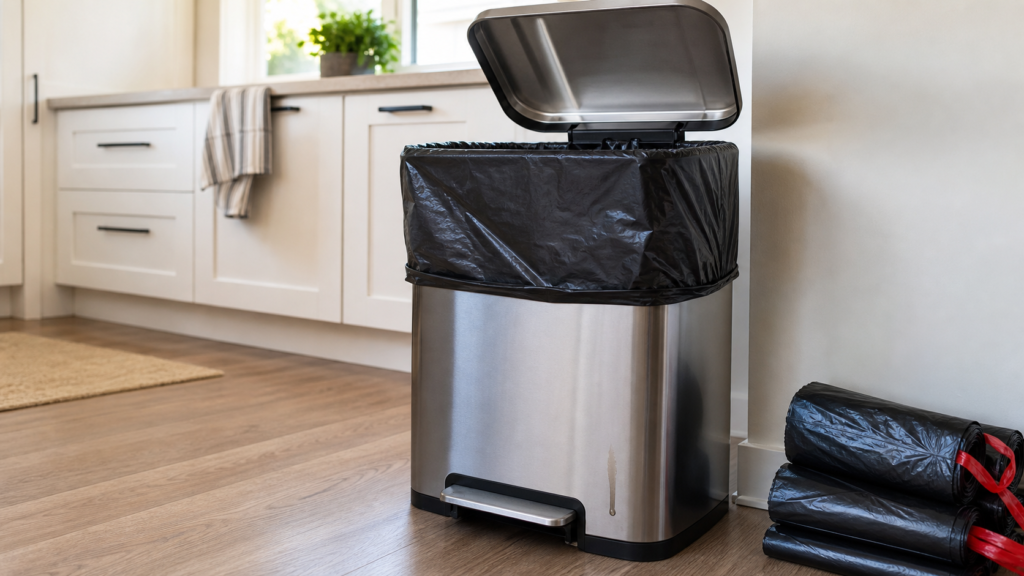
If your kitchen trash bag keeps leaking, do not start by buying the thickest bag you can find. Most leaks come from a specific failure point: wet food waste, a bag stretched too tightly over the rim, sharp trash, overfilling, weak seams or lifting a heavy bag by the drawstring alone.
The fix depends on where the leak starts. A bottom seam leak needs a different solution than a rim tear. A puncture from sharp packaging needs a different solution than a bag that hangs above the bottom of the can. First diagnose the pattern, then decide whether you need a different routine, a different bag size or a stronger liner.
Quick Verdict
Most kitchen trash bag leaks are caused by fit, wet waste or overfilling, not by one universally bad bag. Before changing brands, check whether the leak starts at the bottom seam, near the rim, through the side wall or only when you lift the bag out of the can.
Thicker bags can help when the current liner is genuinely too weak for normal kitchen trash. They do not solve loose liquids, sharp scraps, a bag that is stretched tight across the lip of the can or a liner that never reaches the bottom. No kitchen trash bag should be treated as leak-proof.
If the leak has already left residue in the can, clean and dry the can before adding a new liner. Otherwise the next bag may smell like it failed even when the real problem is old liquid sitting under the bag. For the cleanup side, use how to clean a trash can and how to keep a trash can from smelling.
The 60-Second Leak Diagnosis
Before you change anything, look at the leak like a small troubleshooting job. The goal is to find the first failure point, not the messiest place where the liquid ended up.
- Is liquid pooling at the bottom of the can?
- Is the bag wet on the outside, or is the can wet while the bag looks dry?
- Does the bag tear near the rim after being stretched over the can?
- Does liquid appear only after you lift the bag out?
- Are there punctures from bones, lids, broken plastic, skewers, glass or stiff packaging?
- Is the bag hanging above the bottom instead of resting against it?
- Is the bag heavy with coffee grounds, food scraps, takeout containers or wet packaging?
If the bag is suspended above the bottom of the can, heavy trash pulls against the rim and seams instead of being supported by the can. That can make a decent bag fail early, especially in tall, narrow or rectangular cans.
Rule Out Non-Bag Leaks First
Sometimes the trash bag gets blamed for a leak it did not create. Before replacing liners, check the area around the can. Look for liquid under the pedal, behind the can, around the cabinet base or near a sink or dishwasher. If the floor is already wet before the bag moves, the liner may not be the source.
If your can has an inner bucket, inspect the space between the bucket and the outer shell. Liquid can hide there after an older spill and show up later when the can is moved. Also check whether the can was still damp after cleaning. A wet bottom, lid edge or pedal area can make a fresh bag seem like it is leaking.
Do not use this article to diagnose plumbing, appliance leaks or mold. If the liquid source is outside the trash can, investigate that source separately before changing trash bags.
Troubleshooting Table
| Leak Pattern | Most Likely Cause | First Fix | When To Change Bag Type |
|---|---|---|---|
| Liquid pooling at the bottom of the can | Wet food waste, loose liquid or seam stress | Drain liquids, wrap wet scraps and empty food waste sooner. | If seams still fail after waste handling improves. |
| Bag tears near the rim | Bag is too tight, too small or overstretched across the can lip | Size up, add rim overhang and avoid stretching the liner tight. | If the can shape needs a taller or more flexible liner. |
| Drawstring rips during removal | Bag is overfilled or too heavy with wet contents | Tie and lift earlier; support the bottom while removing. | If drawstrings fail at normal fill levels. |
| Side punctures | Sharp packaging, bones, skewers, broken plastic or glass | Wrap sharp items before disposal. | If normal kitchen packaging punctures the bag repeatedly. |
| Leaks after double-bagging | Inner bag leaked early or both bags are too tight | Fix the source leak before adding another bag. | If occasional heavy or wet loads justify a thicker liner. |
| Floor trail after lifting the bag | Leak starts during removal, not while sitting | Support the bottom and carry the bag in a secondary container if needed. | If the bag cannot handle normal filled weight. |
| Wet floor but dry bag | Spill, can residue, inner-bucket leak or nearby sink/appliance source | Inspect the can exterior and surrounding area before changing liners. | Do not change bag type until the bag is confirmed as the failure point. |
Fix Bag Fit Before Buying Stronger Bags
A stronger bag can still leak if it fits badly. The printed gallon size is only a starting point because trash cans with the same capacity can have different heights, shapes, rims and inner buckets.
A thicker bag will not fix every leak if the liner is stretched, hanging too short or pulling against the rim. Check what size trash bag fits my trash can first, then decide whether thickness, shape or wet-waste control is the real fix.
Check the fit with an empty liner. The bag should have enough overhang to stay in place without being stretched tight like a drum. It should reach the bottom of the can so heavy trash is supported from below. If the liner hangs in midair, the weight of the trash pulls on the top and seams every time you add something heavy.
Rectangular, slim and oval cans can be harder to fit than round cans. The liner may match the gallon number but still pull across one corner or leave part of the bottom unsupported. If you have a small kitchen setup, this matters even more because narrow cans often use unusual proportions. The comparison in under-sink trash can vs slim step can is a useful next step if the can shape itself is part of the problem.
Control Wet Waste And Food Scraps
Wet waste is the fastest way to turn a small liner weakness into a messy leak. Do not pour liquids into kitchen trash. Drain food packaging before tossing it, empty takeout containers carefully and avoid letting loose liquid collect at the bottom of the bag.
Coffee grounds, melon rinds, thawed packaging, spoiled produce and saucy leftovers can create more liquid than expected. If something is very wet, wrap it first, use a small tied bag for that item or take the main trash out sooner. The goal is not to make trash disposal complicated. The goal is to stop liquid from sitting against seams for hours.
If leaks are also creating odor, treat the leak and the smell as connected problems. A new bag may stop the next spill, but old residue in the can can keep smelling until it is cleaned and dried.
Prevent Punctures And Seam Stress
A puncture leak is not the same as a weak-bag leak. Bones, skewers, torn can lids, broken plastic, glass and stiff packaging can pierce a liner that would otherwise handle normal kitchen trash. Wrap sharp items before they go into the bag, especially if the can is narrow and contents press against the side wall.
Avoid pushing trash down when sharp contents are inside. Compressing the bag can force a point through the side or bottom. Also stop filling when the bag is heavy, not only when it looks full. Wet waste can make a half-full bag heavier than a full-looking bag of dry packaging.
For removal, do not rely on the drawstring alone when the bag is heavy. Tie the top, support the bottom and lift slowly so the bag does not scrape against the rim, cabinet hardware or inner bucket.
When Double-Bagging Makes Sense
Double-bagging is a rescue tactic, not the best everyday answer. It can make sense for an occasional wet or heavy load, or when you already know a bag has been stressed and need to remove it without spreading the mess.
It is not a good fix for loose liquids, chronic overfilling or a liner that is too small. Two tight bags can still tear against the same rim. Two bags can also be punctured by the same sharp item. If you double-bag every day, the better question is why the first bag keeps failing.
When A Different Bag Actually Helps
A different bag is worth considering when the failure pattern points to the liner itself. That may mean seams fail under normal kitchen waste, drawstrings tear before the bag is overfilled, the liner never reaches the bottom of the can or ordinary packaging punctures the side too easily.
Change the fit before changing the brand. If the rim is always stretched, try a better size or shape. If the bag slips, look for better overhang. If the bottom is unsupported, choose a liner deep enough for the actual can. Keep product choices generic until there is a current product matrix; this draft should not include brand rankings, fixed prices, star ratings, Amazon links or leak-proof claims.
Cleanup After A Leak
After a leak, remove loose trash and any pooled liquid first. Wash the can with mild dish soap and warm water, paying attention to the bottom seam, lid edge, pedal area and inner bucket if the can has one. Dry the can fully before adding a new liner.
If odor remains after cleaning, treat it as a separate odor problem rather than assuming the next bag will fix it. Old residue, damp plastic, food particles under the rim and hidden liquid around the pedal can keep smelling even after the leaking bag is gone. A simple deodorizing step may help after the can is clean; see DIY trash can deodorizer for low-risk options.
Final Recommendation
If the leak starts at the bottom, fix wet waste and seam stress first. If the bag tears at the rim, fix size, overhang and stretch. If it leaks during removal, stop overfilling and support the bottom. If punctures are the issue, wrap sharp trash before it enters the bag.
Only upgrade bags after the leak pattern shows that the current liner is the weak point. The best fix is the one that matches the failure: better fit, less liquid, fewer punctures, earlier removal or a stronger bag when normal use genuinely overwhelms the liner.